這篇文章記錄如何從原始碼編譯 BusyBox、排除 tc 模組的錯誤、建立靜態連結的 sh,最後用 initramfs 啟動自編譯的 Linux Kernel。請先參考前兩篇文章了解如何編譯 Linux Kernel 和建立 initramfs:
下載並編譯 BusyBox
下載 BusyBox (筆者使用 v1.37.0,請斟酌使用更新版本)。
1
2
git clone --depth=1 --branch=1_37_0 git://git.busybox.net/busybox
cd busybox
使用 default config 進行編譯。
1
2
make defconfig
make -j16 busybox
執行至此,你應該會看到以下錯誤:
networking/tc.c: In function ‘cbq_print_opt’:
networking/tc.c:236:27: error: ‘TCA_CBQ_MAX’ undeclared (first use in this function); did you mean ‘TCA_CBS_MAX’?
  236 |         struct rtattr *tb[TCA_CBQ_MAX+1];
      |                           ^~~~~~~~~~~
      |                           TCA_CBS_MAX
這是因為 Linux 6.8 後的網路相關 API 有變更,而 busybox 的 tc (Traffic Control) 實作還未支援這些變更。為了繞過這個問題,我們可以在編譯時排除 tc 模組。
Menuconfig 排除未被新版 Linux 支援的模組
進入 BusyBox 設定介面:
1
make menuconfig
在選單中調整:
- Networking Utilities —> tc 取消勾選
- Settings —> Build static binary (no shared libs) 啟用
完成後儲存並退出、重新編譯 BusyBox
1
make -j16 busybox
建立 initramfs 結構
將編譯好的 busybox 執行檔放入 initramfs 結構中:
1
2
3
4
5
cd ..
mkdir -p my-init/bin
cp busybox/busybox my-init/bin
cd my-init/bin
ln -s busybox sh
將整個 initramfs 打包成 initrd:
1
2
cd ..
find . -print0 | cpio --null --create --verbose --format=newc | gzip -9 > ../initrd
使用 QEMU 啟動 Linux Kernel
利用先前編譯好的 Linux bzImage 和 initrd 啟動 QEMU:
1
2
cd ..
qemu-system-x86_64 -kernel linux/arch/x86/boot/bzImage -initrd initrd
在 Linux Shell 中,你可以透過 Tab 鍵或是輸入 help 查看可用的指令:
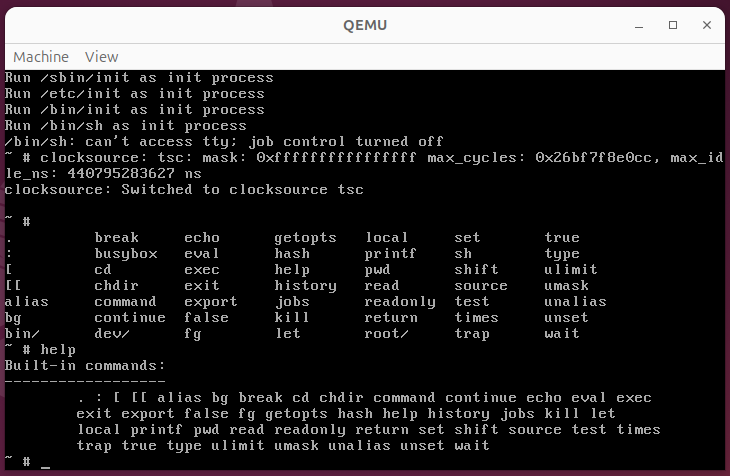
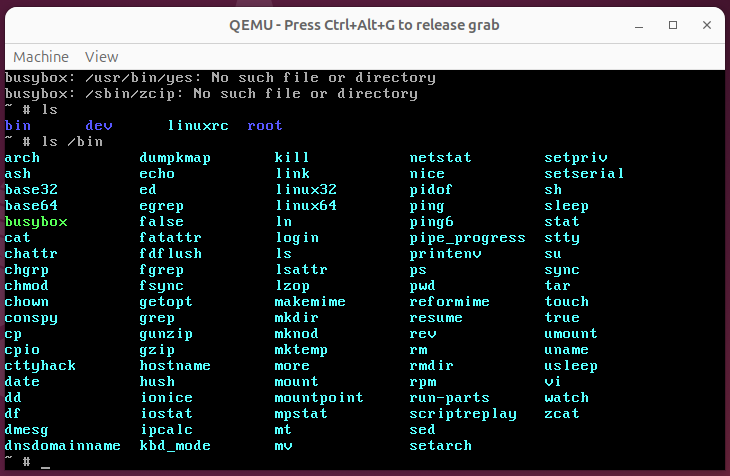
現在可用的指令很少,甚至連 ls 都沒有。若你想讓 /bin 裡有所有常見指令的捷徑,例如 ls, cat, echo 等,請利用 busybox --install -s 指令來將所有指令的符號連結建立到 /bin:
1
/bin/busybox --install -s
這樣就可以在 /bin 目錄下看到所有的 BusyBox 指令了,甚至連 vi 都有!