環境: wnidows 10, STM32CubeIDE 1.8.0
在這個教學將透過 PA0 和 PA1 腳位來使用 uart4。
專案初始化
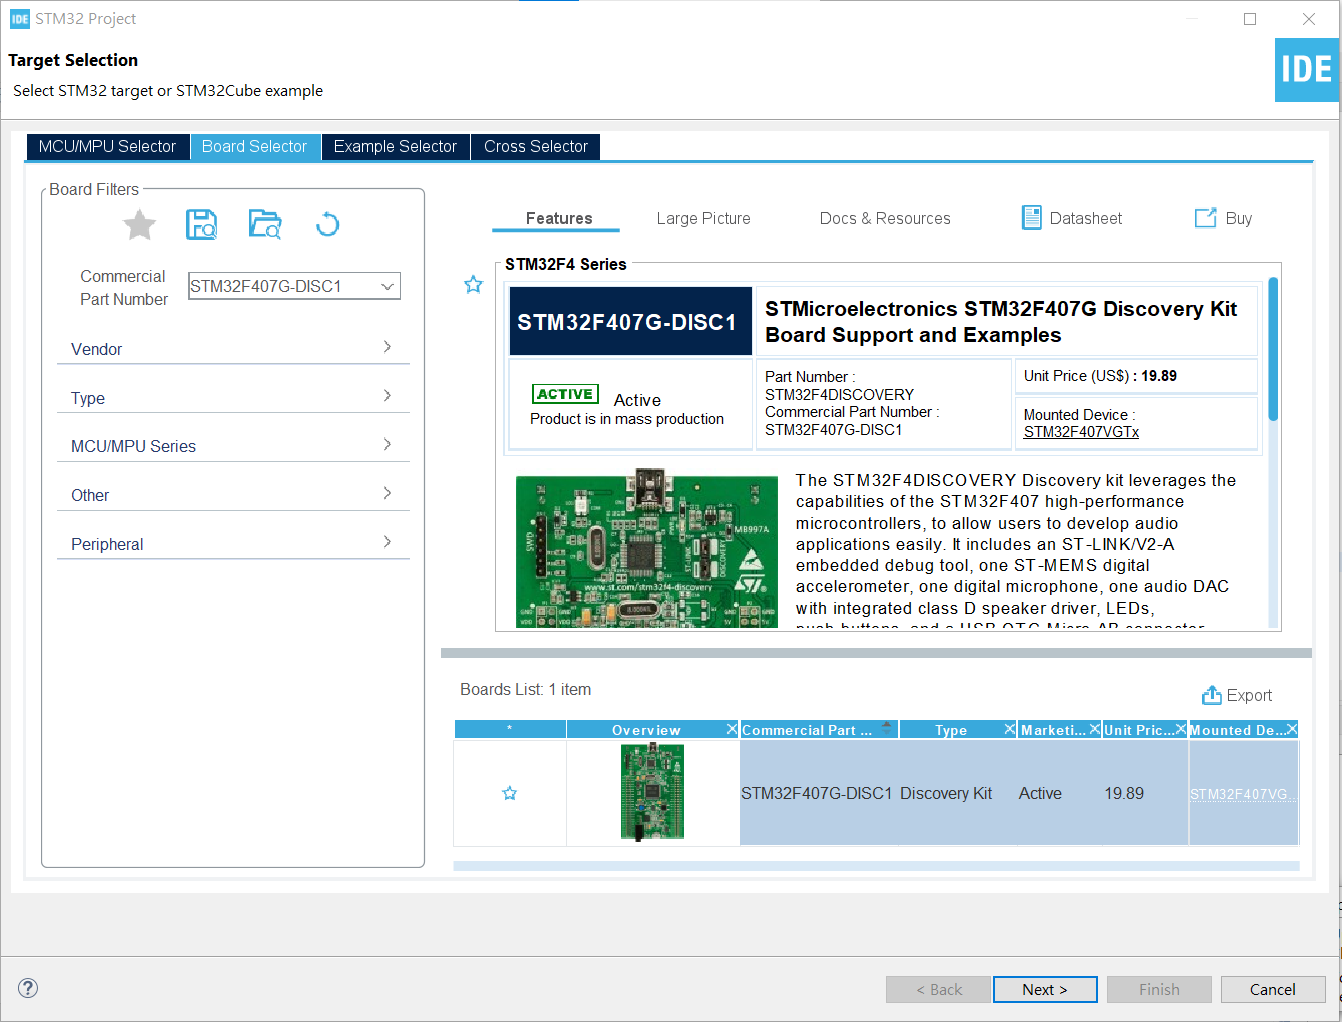
首先在 CubeIDE 新增 stm32f407g 的專案,將專案命名為 uart_test。
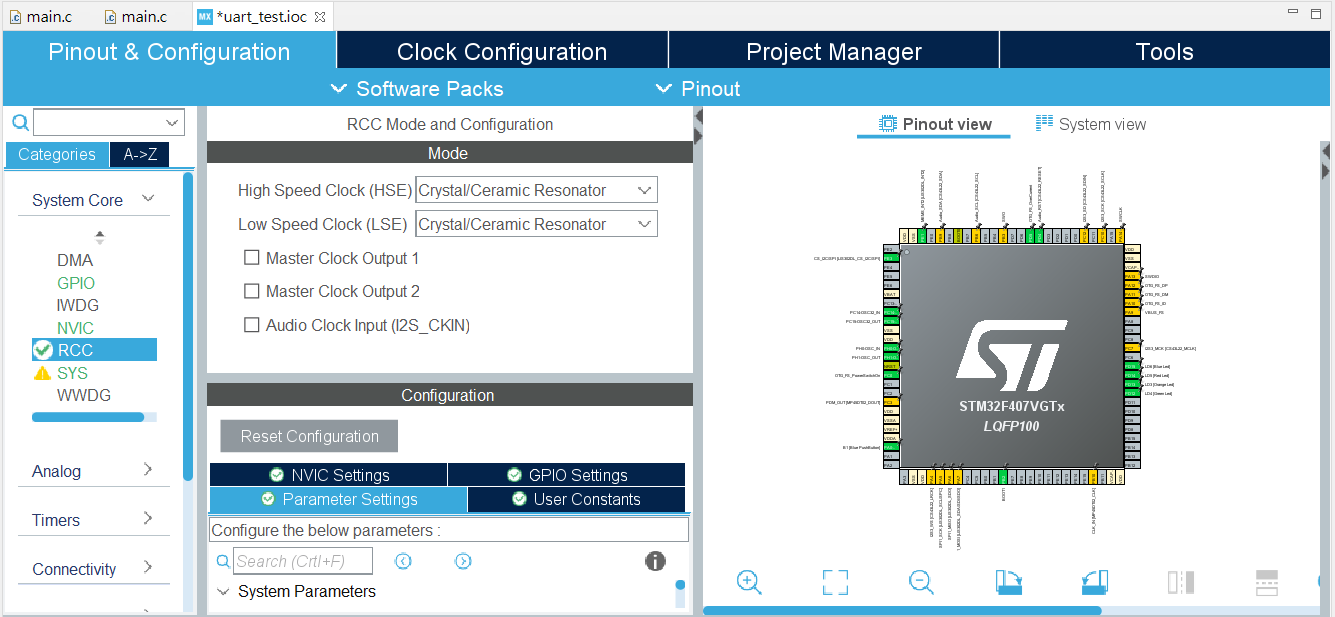
設定 RCC 中的 High Speed Clock 與 Low Speed Cock。
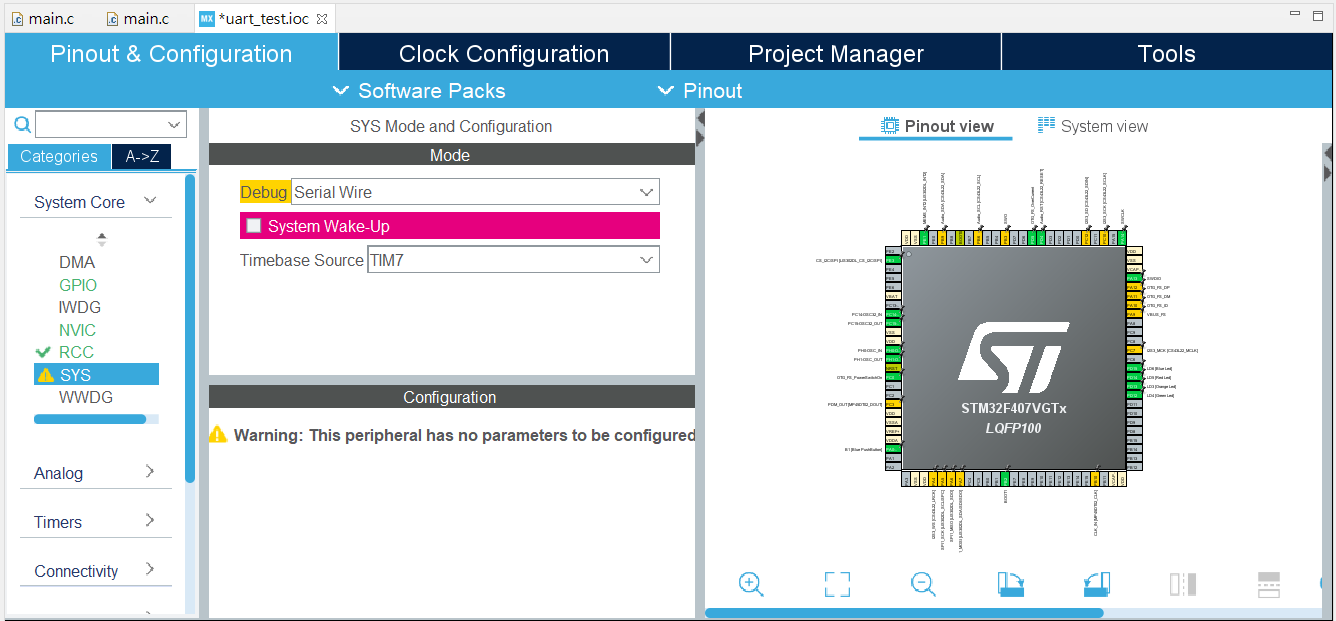
設定 SYS 的 Debug 與 Timebase Source。
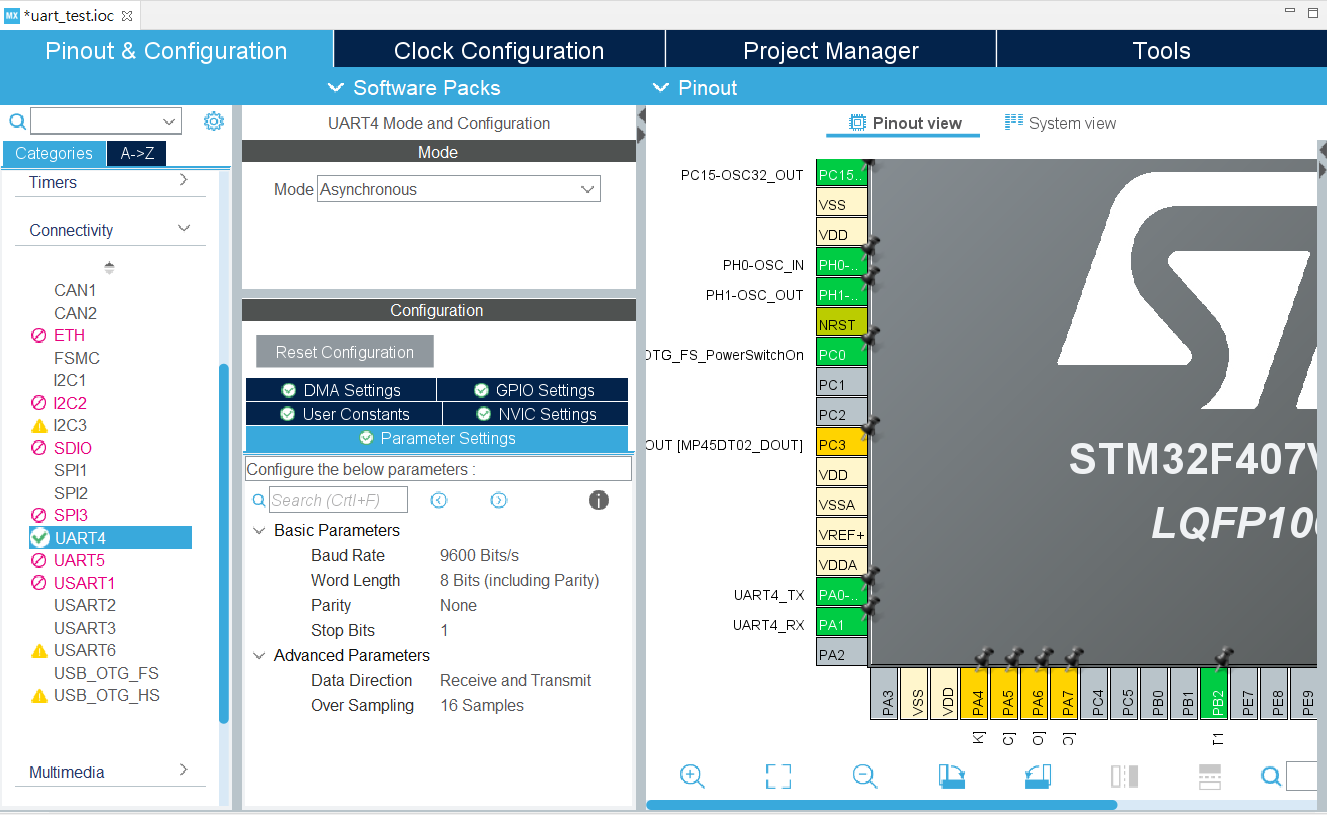
將 PA0 設為 UART4_TX、PA1 設為 UART4_RX。

將 UART4 的 Mode 設為 Asynchronous、Baud Rate 設為 9600 Bits/s。
接下來按下 Ctrl+S 自動產生程式碼。
測試輸出字串
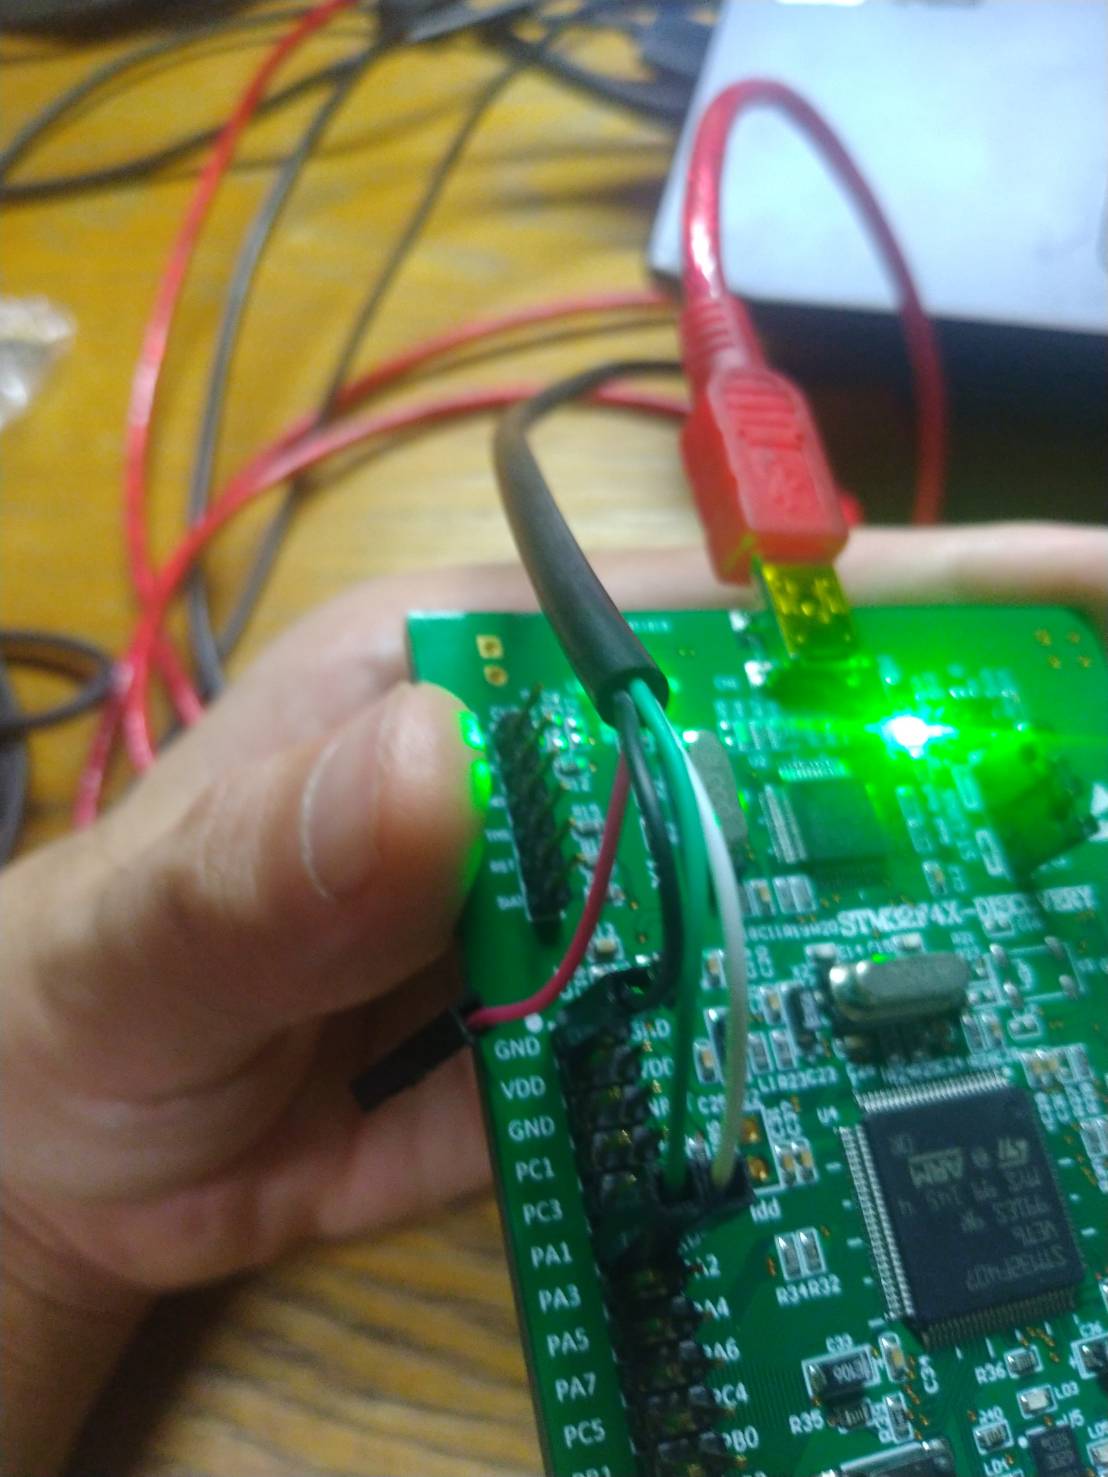
開發版接線如下:
在專案的 main.c 的 main 函式改寫如下:
1
2
3
4
5
6
7
8
9
10
11
12
13
14
15
16
17
18
19
20
21
22
23
24
25
26
27
int main(void)
{
  /* Reset of all peripherals, Initializes the Flash interface and the Systick. */
  HAL_Init();

  /* Configure the system clock */
  SystemClock_Config();

  /* Initialize all configured peripherals */
  MX_GPIO_Init();
  MX_UART4_Init();
  /* USER CODE BEGIN 2 */
  char text[13] = "Hello World\r\n";
  /* USER CODE END 2 */

  /* Infinite loop */
  /* USER CODE BEGIN WHILE */
  while (1)
  {
    /* USER CODE END WHILE */

    /* USER CODE BEGIN 3 */
    HAL_UART_Transmit(&huart4, text, 13, HAL_MAX_DELAY);
    HAL_Delay(1000);
  }
  /* USER CODE END 3 */
}
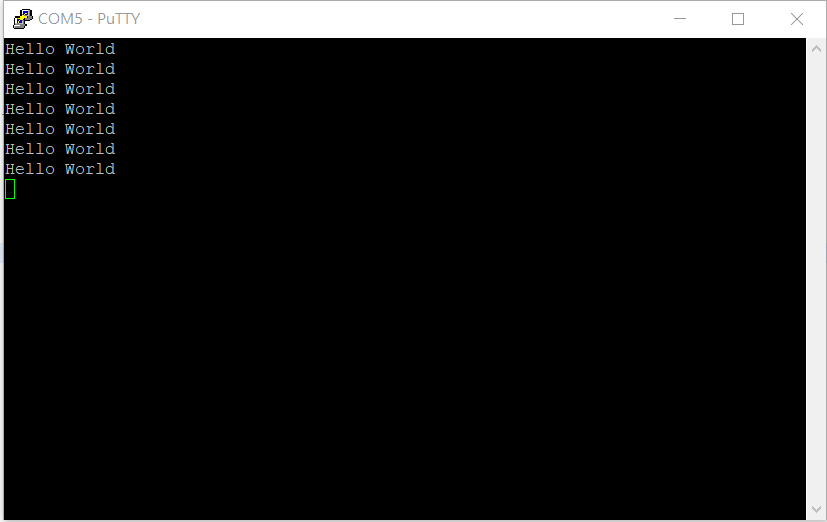
接下來執行程式,預期每秒會輸出一行 Hello World:
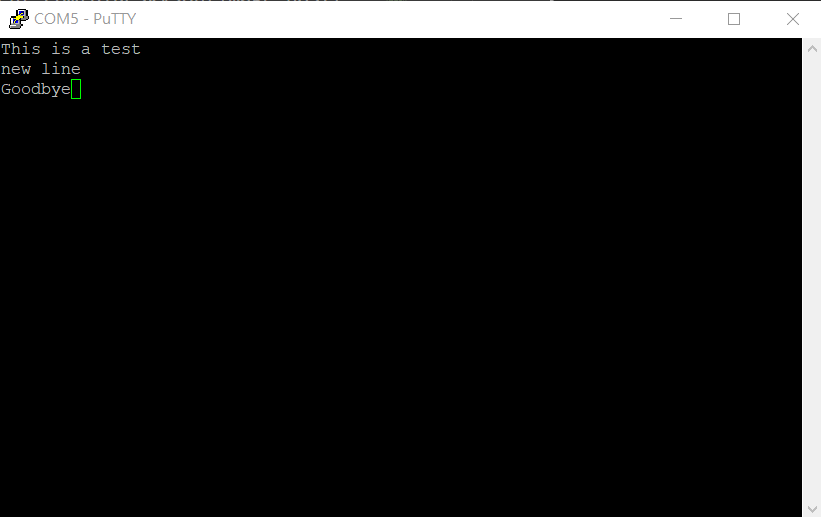
印出輸入字串
將 while 迴圈改寫為以下,螢幕就會輸出使用者輸入的字串。
1
2
3
4
5
6
7
8
9
10
11
12
13
14
  /* Infinite loop */
  /* USER CODE BEGIN WHILE */
  while (1)
  {
    /* USER CODE END WHILE */

    /* USER CODE BEGIN 3 */
    uint8_t receive;
    while (HAL_UART_Receive(&huart4, &receive, 1, 1000) != HAL_OK);
    HAL_UART_Transmit(&huart4, &receive, 1, HAL_MAX_DELAY);
    if ((char)receive == '\r')
        HAL_UART_Transmit(&huart4, "\n", 1, HAL_MAX_DELAY);
  }
  /* USER CODE END 3 */