在幫 tldr page 修改 pdf 渲染器時偶然發現 Weasyprint 這個好用的函式庫,以下介紹三種使用方法。首先透過 pip 安裝:
$ pip3 install weasyprint
讀取 HTML 檔轉換成自動換頁的 PDF
首先我找了一個 HTML 範例 如下:
mystyle.css
1
2
3
4
5
6
7
8
9
10
11
12
13
14
15
16
17
18
19
20
21
22
23
24
25
26
27
28
29
30
31
32
33
34
35
36
37
38
39
40
41
42
43
44
45
body {
    padding-left: 11em;
    font-family: Georgia, "Times New Roman", Times, serif;
    color: purple;
    background-color: #d8da3d
}

ul.navbar {
    list-style-type: none;
    padding: 0;
    margin: 0;
    position: absolute;
    top: 2em;
    left: 1em;
    width: 9em
}

h1 {
    font-family: Helvetica, Geneva, Arial, SunSans-Regular, sans-serif
}

ul.navbar li {
    background: white;
    margin: 0.5em 0;
    padding: 0.3em;
    border-right: 1em solid black
}

ul.navbar a {
    text-decoration: none
}

a:link {
    color: blue
}

a:visited {
    color: purple
}

address {
    margin-top: 1em;
    padding-top: 1em;
    border-top: thin dotted
}
sample.html
1
2
3
4
5
6
7
8
9
10
11
12
13
14
15
16
17
18
19
20
21
22
23
24
25
26
27
28
29
30
31
<!DOCTYPE html PUBLIC "-//W3C//DTD HTML 4.01//EN">
<html>
<head>
<title>My first styled page</title>
<link rel="stylesheet" href="mystyle.css">
</head>
<body>
<!-- Site navigation menu -->
<ul class="navbar">
<li><a href="index.html">Home page</a></li>
<li><a href="musings.html">Musings</a></li>
<li><a href="town.html">My town</a></li>
<li><a href="links.html">Links</a></li>
</ul>
<!-- Main content -->
<h1>My first styled page</h1>
<p>Welcome to my styled page!</p>
<p>It lacks images, but at least it has style. And it has links, even if they don't go anywhere…</p>
<p>There should be more here, but I don't know what yet.</p>
<!-- Sign and date the page, it's only polite! -->
<address>Made 5 April 2004<br>
by myself.</address>
</body>
</html>
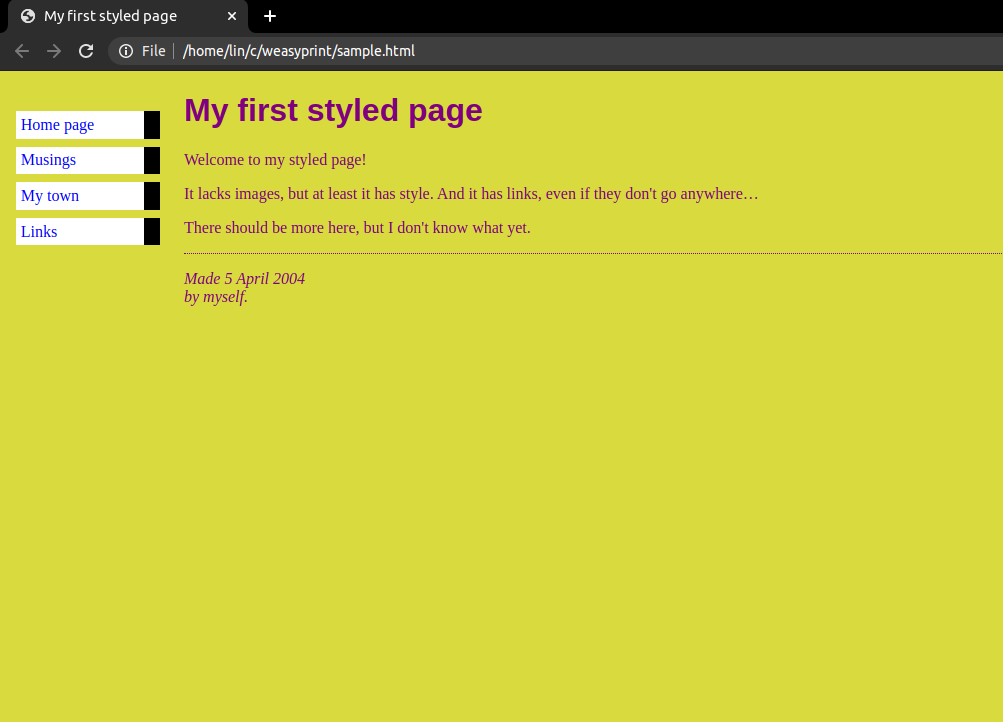
將 sample.html 與 mystyle.css 放在同一目錄下即可在瀏覽器中產生以下預覽:
接著我們在當前目錄寫一個小小的 python 腳本:
convert.py
1
2
from weasyprint import HTML
HTML("sample.html").write_pdf("sample.pdf")
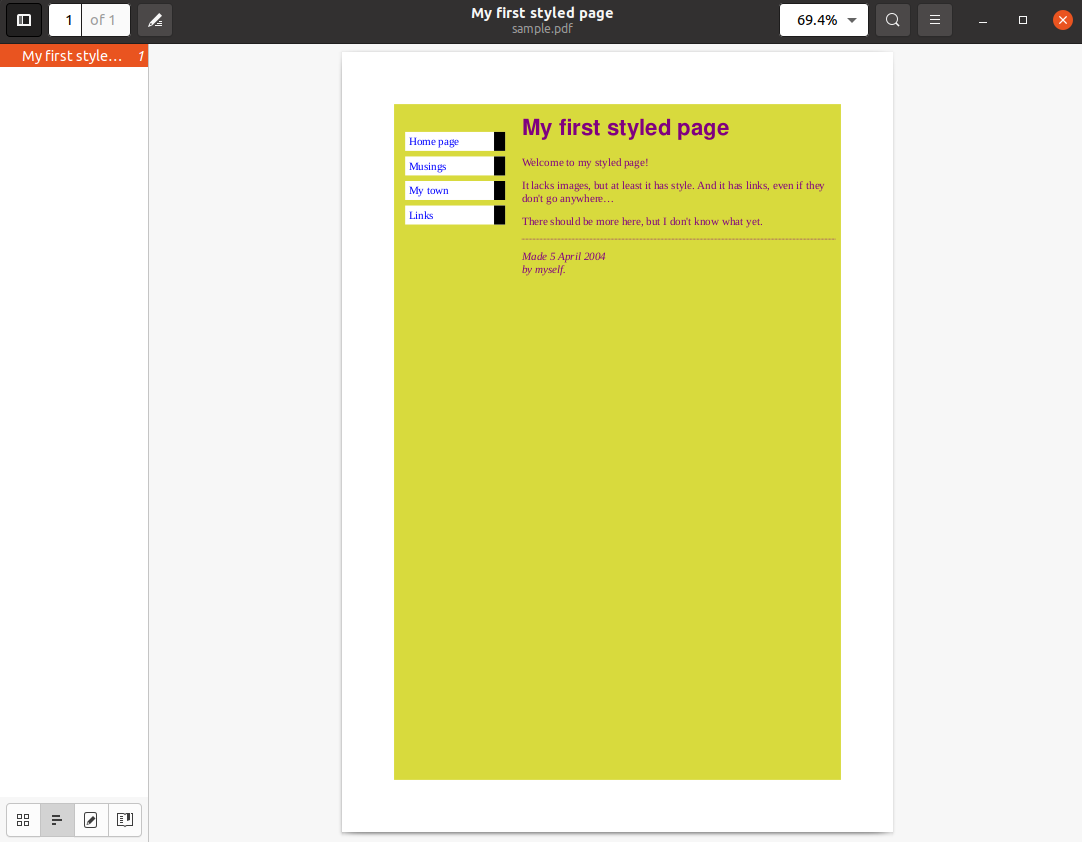
執行腳本後便會得到一個漂亮的 PDF 檔了
$ python convert.py
將 HTML 字串轉換成自動換頁的 PDF
邏輯和讀取 HTML 檔大同小異,但是在轉換時需要將所有 css 檔放入 list 裡,然後作為參數丟給 weasyprint,一樣使用上面的 sample.html 與 mystyle.css 作為範例。
convert_string.py
1
2
3
4
5
6
7
8
9
10
from weasyprint import HTML, CSS

# Append as many style sheets as you want
csslist = []
csslist.append(CSS("mystyle.css"))

with open('sample.html', 'r') as file:
    # convert HTML string to PDF file
    data = file.read()
    HTML(string=data).write_pdf("sample.pdf", stylesheets=csslist)
手動換頁
PDF 與文字文件最大的差異就是 PDF 有頁數,因此將很長的網頁轉換成 PDF 就需要考慮排版的問題。我們可以利用
<p style="page-break-before: always" ></p>
來強制把此行 HTML 以下的內容放到下一頁。每當需要手動換頁時就加上此行即可達到效果。我提供了另一個文檔範例
sample.html
1
2
3
4
5
6
7
8
9
10
11
12
13
14
15
16
17
18
19
20
21
22
23
24
25
26
<!DOCTYPE html PUBLIC "-//W3C//DTD HTML 4.01//EN">
<html>
<head>
    <title>Hello World</title>
</head>
<body>
    <!-- Main content -->
    <h1>What is GitHub?</h1>
    <p>GitHub is a code hosting platform for version control and collaboration. It lets you and others work together on projects from anywhere.</p>
    <p>This tutorial teaches you GitHub essentials like repositories, branches, commits, and Pull Requests. You’ll create your own Hello World repository and learn GitHub’s Pull Request workflow, a popular way to create and review code.</p>
    <h2>No coding necessary</h2>
    <p>To complete this tutorial, you need a GitHub.com account and Internet access. You don’t need to know how to code, use the command line, or install Git (the version control software GitHub is built on).</p>

    <h1>Step 1. Create a Repository</h1>
    <p>A repository is usually used to organize a single project. Repositories can contain folders and files, images, videos, spreadsheets, and data sets – anything your project needs. We recommend including a README, or a file with information about your
        project. GitHub makes it easy to add one at the same time you create your new repository. It also offers other common options such as a license file.</p>
    <p>Your hello-world repository can be a place where you store ideas, resources, or even share and discuss things with others.</p>
    <h2>To create a new repository</h2>
    <ol>
        <li>In the upper right corner, next to your avatar or identicon, click and then select New repository.</li>
        <li>Name your repository hello-world.</li>
        <li>Write a short description.</li>
        <li>Select Initialize this repository with a README.</li>
    </ol>
</body>
</html>
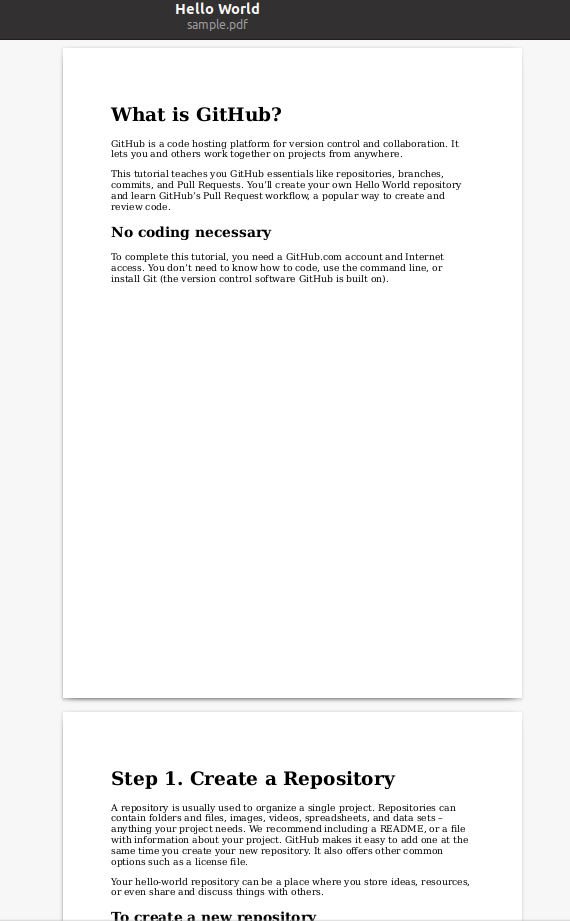
透過 convert.py 轉換後會像這樣

一班來說我們會希望大標題在每一頁的開頭,於是我將 <p style="page-break-before: always" ></p> 放在 <h1>Step 1. Create a Repository</h1> 前:
1
2
3
4
5
6
7
    ...use the command line, or install Git (the version control software GitHub is built on).</p>

    <!-- the folowing will be in next page -->
    <p style="page-break-before: always" ></p>

    <h1>Step 1. Create a Repository</h1>
    <p>A repository is usually used to organize a single project...
透過 convert.py 轉換後便能分成兩頁