此安裝流程是參考官網教學 https://docs.librenms.org/Installation/Install-LibreNMS/
但是官網有兩處小細節沒有特別提到,在本篇文章會點出
Step 1: 下載所有相依套件
下載所有相依套件及 nginx 伺服器
$ sudo apt install software-properties-common
$ sudo add-apt-repository universe
$ sudo apt update
$ sudo apt install acl curl composer fping git graphviz imagemagick mariadb-client mariadb-server mtr-tiny \
nginx-full nmap php7.4-cli php7.4-curl php7.4-fpm php7.4-gd php7.4-json php7.4-mbstring php7.4-mysql php7.4-snmp \
php7.4-xml php7.4-zip rrdtool snmp snmpd whois unzip python3-pymysql python3-dotenv python3-redis \
python3-setuptools python3-systemd
下載 libreNMS 原始碼
$ cd /opt
$ sudo git clone https://github.com/librenms/librenms.git
Step 2: 權限設定
新增一個 user 名為 librenms
$ sudo useradd librenms -d /opt/librenms -M -r -s "$(which bash)"
將 libreNMS 目錄的擁有者設為 librenms
$ sudo chown -R librenms:librenms /opt/librenms
$ sudo chmod 771 /opt/librenms
$ sudo setfacl -d -m g::rwx /opt/librenms/rrd /opt/librenms/logs /opt/librenms/bootstrap/cache/ /opt/librenms/storage/
$ sudo setfacl -R -m g::rwx /opt/librenms/rrd /opt/librenms/logs /opt/librenms/bootstrap/cache/ /opt/librenms/storage/
這裡是第一處細節,按照官網的教學,此時要切換為 librenms 的身分下載 php 的相依套件,然而我們前述的步驟都未曾幫 librenms 設置密碼,所以不能直接按照教學的 su - librenms 切換使用者,應該要先設置 librenms 的密碼:
$ sudo passwd librenms
New password:
Retype new password:
passwd: password updated successfully
接下來按照官網教學繼續做下去,下載 php 相依套件
$ su - librenms
$ cd /opt/libernms
$ ./scripts/composer_wrapper.php install --no-dev
$ exit
$ sudo wget https://getcomposer.org/composer-stable.phar
$ sudo mv composer-stable.phar /usr/bin/composer
$ sudo chmod +x /usr/bin/composer
Step 3: 編輯設定檔
設定時區
設定 php-fpm 時區,時區字串可以參考 php.net/manual/zh/timezones.php
$ sudo vim /etc/php/7.4/fpm/php.ini
[Date]
; Defines the default timezone used by the date functions
; http://php.net/date.timezone
date.timezone = Asia/Taipei
設定 php 時區
$ sudo vim /etc/php/7.4/cli/php.ini
[Date]
; Defines the default timezone used by the date functions
; http://php.net/date.timezone
date.timezone = Asia/Taipei
設定系統時區
$ sudo timedatectl set-timezone Asia/Taipei
編輯 MariaDB 設定檔
$ sudo vim /etc/mysql/mariadb.conf.d/50-server.cnf
[mysqld]
innodb_file_per_table=1
lower_case_table_names=0
重新啟動 MariaDB
$ sudo systemctl enable mariadb
$ sudo systemctl restart mariadb
使用 root 權限登入 mysql 的 root
$ sudo mysql -u root
透過 sql 指令新增 user librenms@localhost,把 'mypasswd' 替換成自己想設的密碼,請務必牢記這個密碼,待會透過網頁登入 mariaDB 會用到
1
2
3
4
5
CREATE DATABASE librenms CHARACTER SET utf8mb4 COLLATE utf8mb4_unicode_ci;
CREATE USER 'librenms'@'localhost' IDENTIFIED BY 'mypasswd';
GRANT ALL PRIVILEGES ON librenms.* TO 'librenms'@'localhost';
FLUSH PRIVILEGES;
exit
編輯 php-fpm 設定檔
複製一份預設設定檔,命名為 librenms.conf,修改這份檔案
$ sudo cp /etc/php/7.4/fpm/pool.d/www.conf /etc/php/7.4/fpm/pool.d/librenms.conf
$ sudo vim /etc/php/7.4/fpm/pool.d/librenms.conf
將 librenms.conf 中的 [www] 全部替換成 [librenms]
[librenms]
將 librenms.conf 中的 user 和 group 設為 librenms
user = librenms
group = librenms
設定 listen 的名稱
listen = /run/php-fpm-librenms.sock
編輯 nginx 設定檔
新增 librenms.conf 為 nginx 設定檔
$ sudo vim /etc/nginx/conf.d/librenms.conf
貼上以下內容,server_name 可以自行替換
server {
    listen      80;
    server_name localhost;
    root        /opt/librenms/html;
    index       index.php;

    charset utf-8;
    gzip on;
    gzip_types text/css application/javascript text/javascript application/x-javascript image/svg+xml text/plain text/xsd text/xsl text/xml image/x-icon;
    location / {
        try_files $uri $uri/ /index.php?$query_string;
    }
    location ~ [^/]\.php(/|$) {
        fastcgi_pass unix:/run/php-fpm-librenms.sock;
        fastcgi_split_path_info ^(.+\.php)(/.+)$;
        include fastcgi.conf;
    }
    location ~ /\.(?!well-known).* {
        deny all;
    }
}
重啟 nginx 和 php-fpm
$ sudo rm /etc/nginx/sites-enabled/default
$ sudo systemctl restart nginx
$ sudo systemctl restart php7.4-fpm
設定 lnms 指令的自動補字功能,感覺這個設定不是那麼必要,但姑且照做了
$ sudo ln -s /opt/librenms/lnms /usr/bin/lnms
$ sudo cp /opt/librenms/misc/lnms-completion.bash /etc/bash_completion.d/
編輯 snmpd 設定檔
複製一份預設設定檔,命名為 snmpd.conf,修改這份檔案
1
2
$ sudo cp /opt/librenms/snmpd.conf.example /etc/snmp/snmpd.conf
$ sudo vim /etc/snmp/snmpd.conf
這裡是第二處細節,設定檔中要加入 rocommunity public,否則 snmpd 可能無法正常運作。syslocation 和 syscontact 替換成自己想展示的資訊
rocommunity  public
syslocation virtualbox 1
syscontact blueskyson1401@gmail.com
下載 libreNMS 用來偵測作業系統的腳本,然後重啟 snmpd
$ sudo curl -o /usr/bin/distro https://raw.githubusercontent.com/librenms/librenms-agent/master/snmp/distro
$ sudo chmod +x /usr/bin/distro
$ sudo systemctl enable snmpd
$ sudo systemctl restart snmpd
可以利用 snmpwalk -v 2c -c public 127.0.0.1 測試 snmpd 是否正常運作
其他設定檔
設定定時維護 cronjob
$ sudo cp /opt/librenms/librenms.nonroot.cron /etc/cron.d/librenms
設定清除舊紀錄檔 logrotate,會減少 log 使用的空間
$ sudo cp /opt/librenms/misc/librenms.logrotate /etc/logrotate.d/librenms
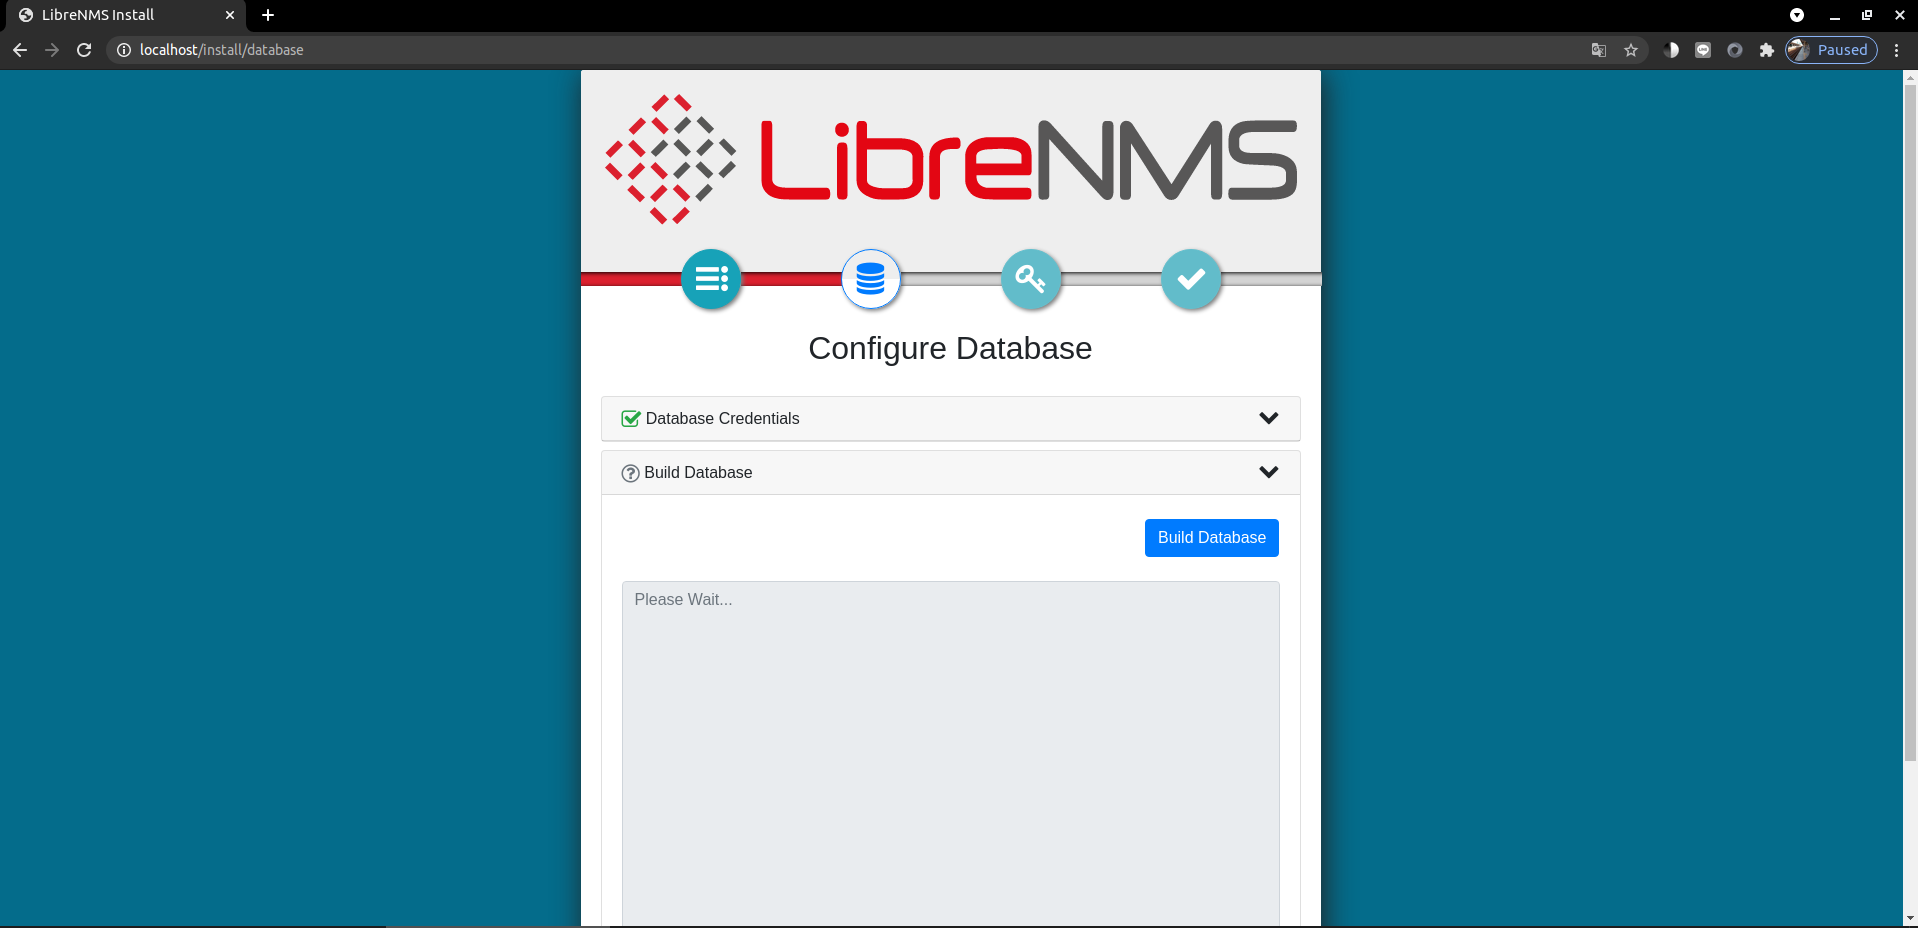
Step 4. 透過網頁初始化 libreNMS
在瀏覽器連入 nginx 的 server_name ,例如我是連入 localhost,進入以下網頁

點擊 configure database 的圖標,輸入剛剛透過 SQL 設定的 librenms 和密碼

點擊 build database
點擊鑰匙圖標設定管理員帳密,之後就能透過管理員身分登入了

Step 5. 新增裝置
在 LibreNMS 網頁中,點擊 Devices -> Add Device 新增 localhost
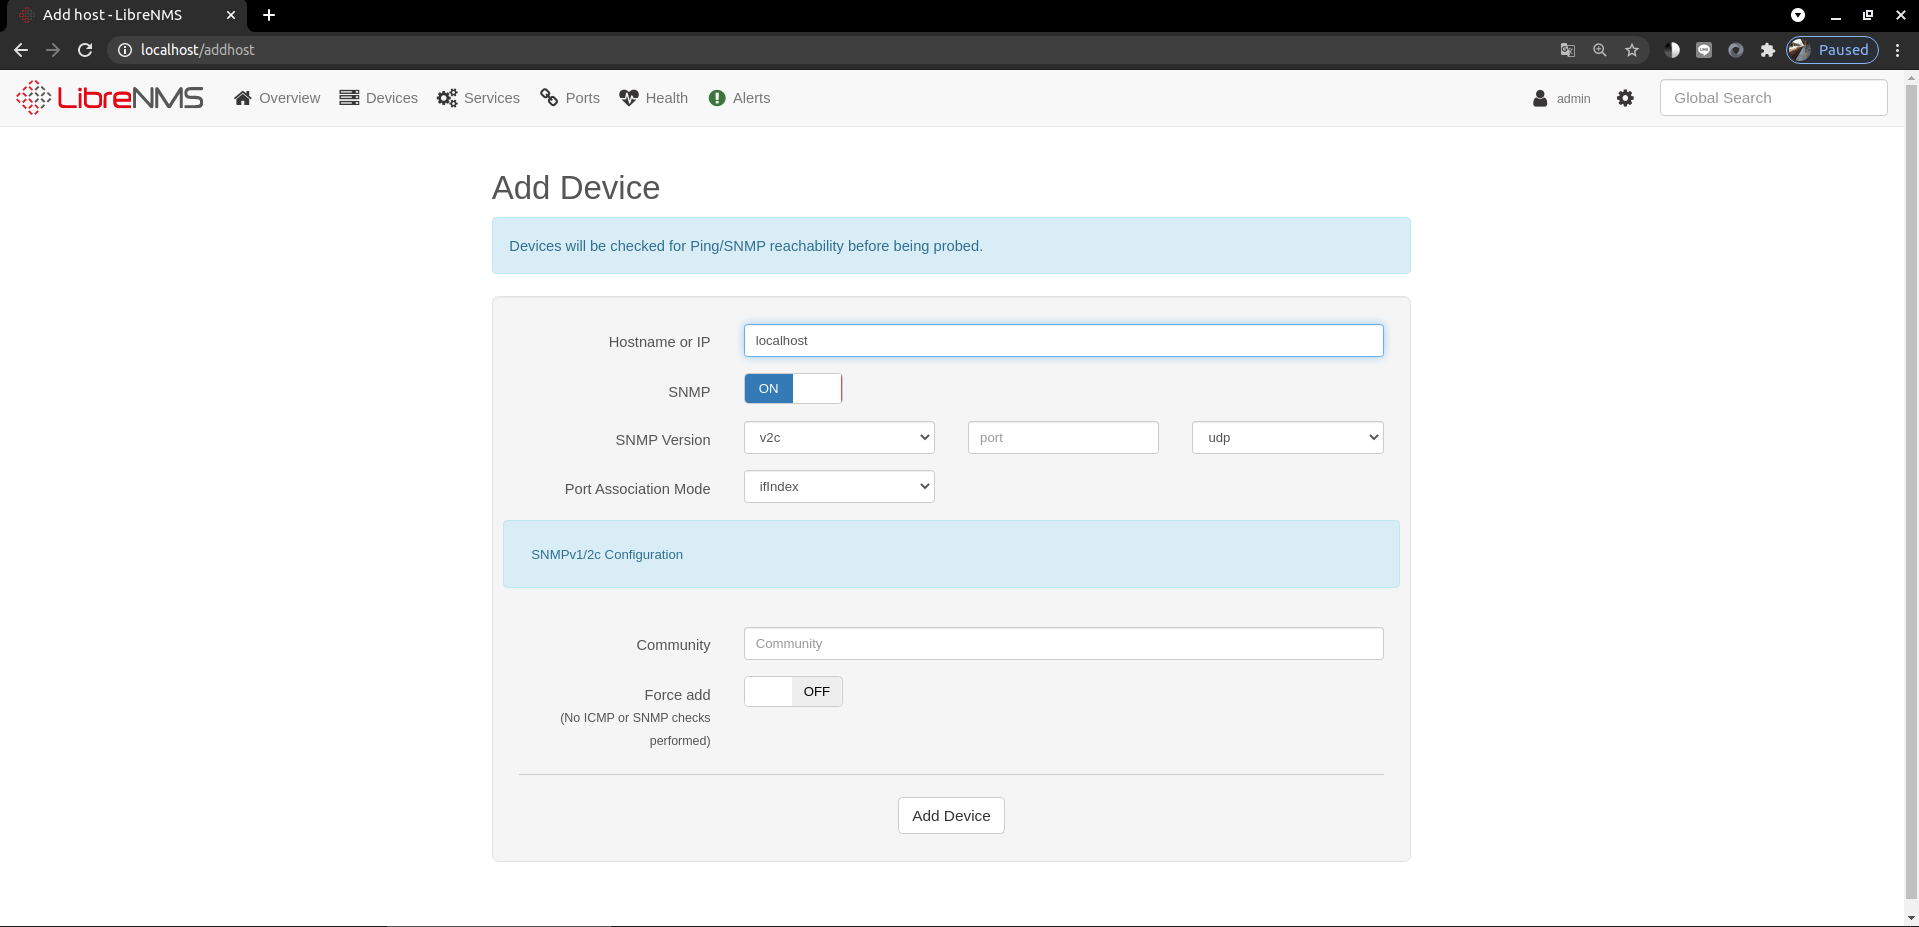
約莫若干分鐘後再點擊 Devices -> All Devices -> Server,從網頁中點選 localhost 即可查看完整效能

以上便完成 libreNMS 的安裝
啟用 https 連線
參考 NGINX 設定 HTTPS 網頁加密連線,建立自行簽署的 SSL 憑證
$ sudo mkdir /etc/nginx/ssl
$ sudo openssl req -x509 -nodes -days 365 -newkey rsa:2048 -keyout /etc/nginx/ssl/nginx.key -out /etc/nginx/ssl/nginx.crt
在 nginx 設定檔的 server block 加入三行
$ sudo vim /etc/nginx/conf.d/librenms.conf
    listen 443 ssl;
    ssl_certificate /etc/nginx/ssl/nginx.crt;
    ssl_certificate_key /etc/nginx/ssl/nginx.key;
重啟 nginx 後,即可使用 https 連到 libreNMS
$ sudo systemctl restart nginx